News
Crafting Stainless Steel Sinks: A Detailed Process
Introduction
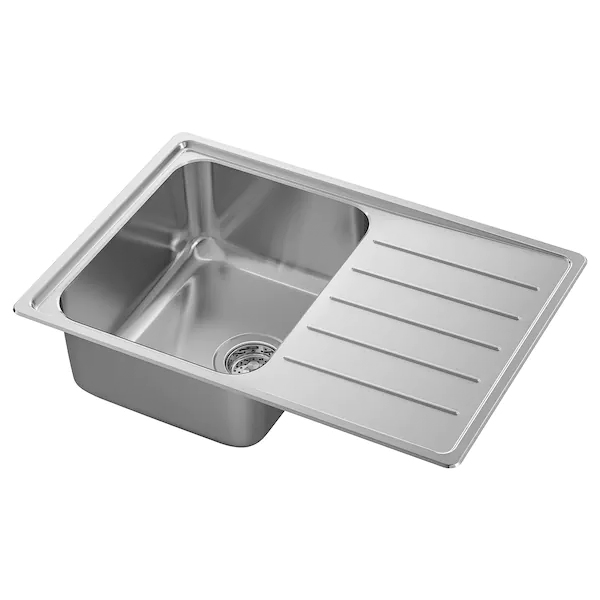
Stainless steel sinks, essential components in modern kitchens for washing vegetables or dishes, have a rich history. Originating in Europe and the United States, they made their way to China, with Taiwanese merchants playing a pivotal role. Brands like "Mantangchun" and "Molin" marked the early days. Let's delve into the intricate process of creating stainless steel sinks.
Equipment Required
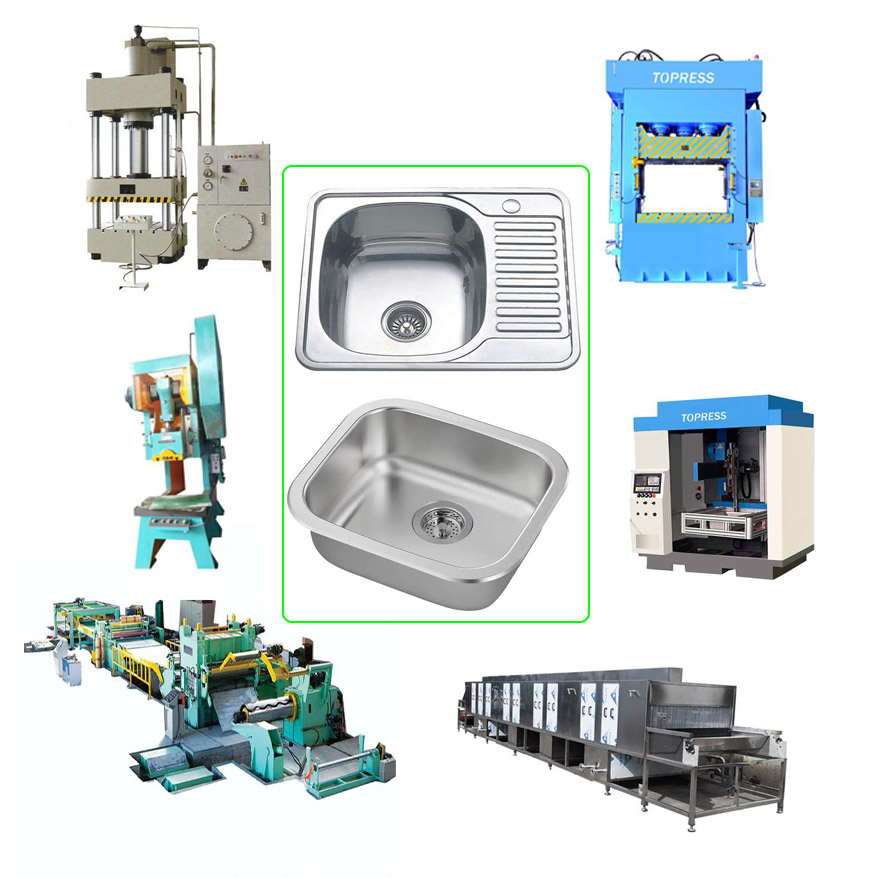
Hydraulic Drawing Presses:
- 2 sets (400T and 500T)
- 1 set of hydraulic press (200T)
- 1 set of power press
Molds:
4 sets (drawing, forming, trimming, punching)

Production Process
1. Purchasing of Raw Material
- Sink factories procure steel plates of varying widths and thicknesses.
- Common sheet metal thickness: 0.8mm to 1.5mm.
- Sheets are delivered in coils, with a maximum width of 1220mm.
2. Laminating
- Apply a laminating film to prevent cracking during drawing.
- Coating covers one side of the steel sheet.
3. Sheet Metal Cutting
- Long steel sheets are cut into segments based on sink design.
- Workers control the roller switch for film coating during cutting.
4. Corner Notching
- Feed the sheet into a shearing machine for corner notching.
- Sheets become polygonal with arc edges.
5. Oiling
- Apply drawing oil evenly to both sides of the sheet after coating.
- Enhances even stress, reduces cracking risk, and prolongs mold and press machine life.
6. First-time Drawing
- Place the metal sheet on the drawing press machine.
- 400T machine for drawing, 500T for forming.
- Achieve 80% or more of the total design depth in the first drawing.
7. Cleaning
- Clean the workbench and remove the film from the initially formed basin.
8. Annealing
- Required for depths between 180mm to 250mm.
- Annealing restores stainless steel sheet activity strained during drawing.
- Annealing line operates at approximately 1150℃.
9. Second-time Drawing
- Conduct a second drawing to achieve the designed depth.
10. Trimming
- Remove excess trim from the finished product.
- Reserve installation positions for stiffener ribs.
11. Hole Punching
- Punch drainage and overflow holes on a special mold.
12. Welding
- Twin-tank roll welding or butt welding as needed.
- Butt welding creates a weld line between basin sides.
13. Spot Welding
- Ribs/hooks are laser spot welded or bonded with glue.
14. Surface Treatment
- Common treatments: sanding, sandblasting, polishing, embossing.
- Sanding involves multiple steps for bottom and wall polishing.
15. Hole Opening
- Excavate faucet holes according to order requirements.
16. Marking
- Laser or embossing marks are applied.
17. Restoration
- Minor damages are repaired before spraying.
18. Spray Coating
- Bottom spray treatment to add weight, cover annealing traces, and prevent condensation.
19. Cleaning & Packing
- Remove residual oil, dirt, and spray.
- Pack sinks based on customer requirements.
20. Stocking
Finished products are stocked in the warehouse for delivery.

Conclusion
The meticulous process of crafting stainless steel sinks involves precision at every step, from material selection to the final product. Manufacturers navigate a series of treatments, drawings, and weldings to deliver sinks that meet both functional and aesthetic standards.
How to Inquire:
Contact us for more information or to request a quote:
- Email:liu@weldcnc.com
- Phone: 008613394110095
- Online Form: [Online Inquiry Form]
CATEGORIES
News
Contact Us
Tel:0086-13394110095
Fax:0086-411-39015062
Phone:0086-13394110095
Email:liu@weldcnc.com
Add:20# Ganwan Street, Zhongshan District, Dalian City, China
